Acoustic Treatment: Better Podcast Audio
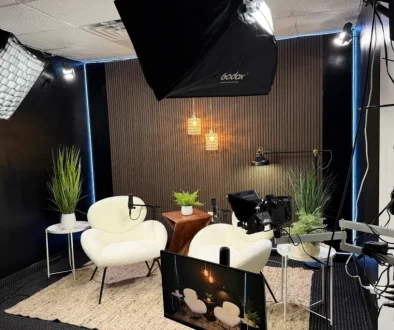
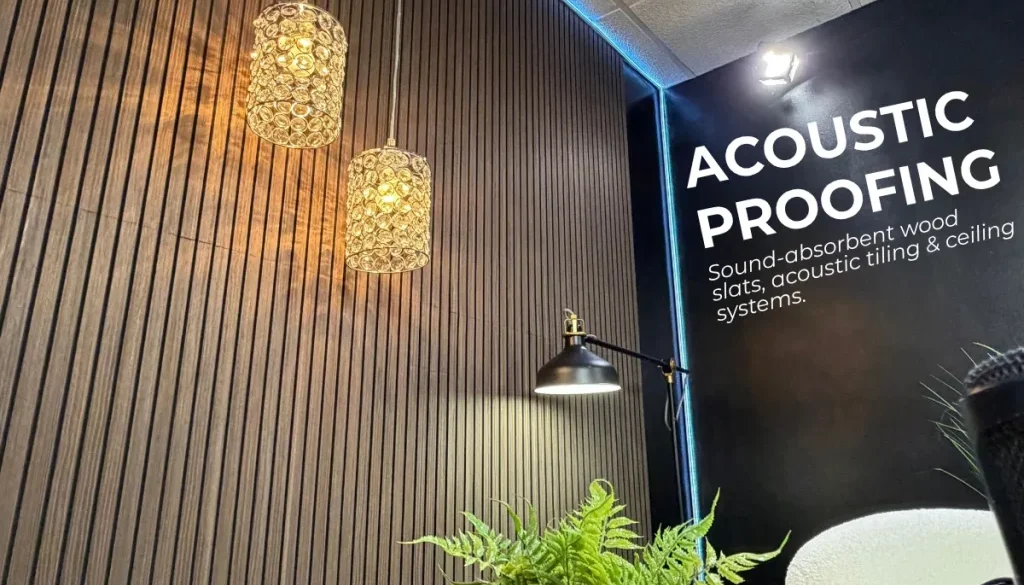
You plug in your new microphone, press record, and expect rich, radio-ready speech. Instead, you hear hollow echoes, boxy tones, and distracting room noise when you listen back. Great recording equipment cannot fix a bad room on its own. Studios like Facet Media Podcast Studio provide ready-to-use, treated environments that save you setup time. This is why acoustic treatment is a necessary step for your show, as it controls the way sound bounces around your space so your listeners hear your voice clearly.
Key Takeaways
- Acoustic treatment controls sound reflections inside a room, while soundproofing stops noise from entering or leaving.
- Bare walls, hardwood floors, and hard desks create flutter echoes that lower recording quality.
- Adding absorption panels, bass traps, and diffusers leads directly to clean audio.
- Proper placement matters more than covering every square inch of your walls.
Acoustic Treatment vs Soundproofing: Know the Difference
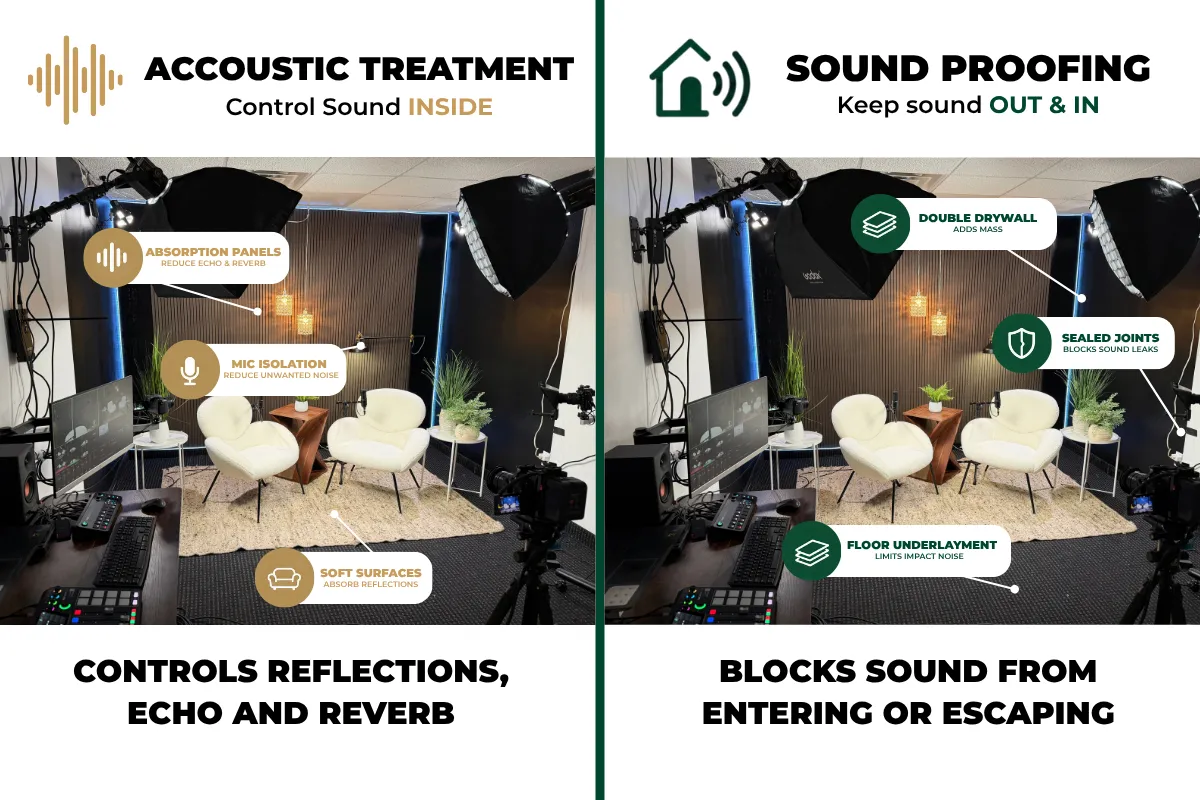
Many new creators confuse treating a space with blocking outside sound. While both improve your recording environment, they perform two distinct jobs.
- Soundproofing blocks sound from traveling between spaces. It requires dense, heavy construction materials like double-thick drywall, specialized insulation, and airtight doors. It keeps traffic noise outside and your voice inside.
- Acoustic treatment shapes the sound inside your space. It uses lighter materials like fabric-wrapped panels, open-cell foam, and diffusers. It stops sound waves from bouncing off hard surfaces and returning to your microphone.
Here is a quick look at how the two approaches compare:
| Feature | Acoustic Treatment | Soundproofing |
|---|---|---|
| Main Goal | Stop echoes and room reflections | Block outside noise from entering |
| Common Materials | Foam panels, fiberglass panels, bass traps | Mass-loaded vinyl, thick drywall, solid doors |
| Installation Difficulty | Simple (hang on walls or use stands) | High (requires structural construction) |
| Cost Range | Budget-friendly to moderate | Expensive |
| Primary Result | Clear, balanced vocal tone | Silent background with no outside leaks |
Pro Tip: If your main problem is dog barks or street noise, you need sound isolation techniques. If your issue is a hollow, boxy voice on tape, you need to treat your room reflections.

Why Clean Audio Protects Your Listener Numbers
Listeners can forgive simple video errors, but poor audio causes people to stop listening quickly. Harsh echoes strain the ears of anyone wearing headphones. Treating your room creates clean audio that helps your show in several ways:
- Reduces Listener Fatigue: When your voice sounds dry and direct, the listener’s brain does not have to work hard to filter out room flutter. They can listen to long interviews without tiring.
- Speeds Up Post-Production: Fixing echo with software plugins often warps your voice, making it sound underwater or metallic. Good physical absorption means you spend less time editing and scrubbing background reflections.
- Builds Credibility: Professional sound quality signals to your audience and potential sponsors that you respect their time and take your project seriously.
- Improves Voice Clarity: Treating your space balances high, mid, and low frequencies so your natural speaking voice comes through accurately.
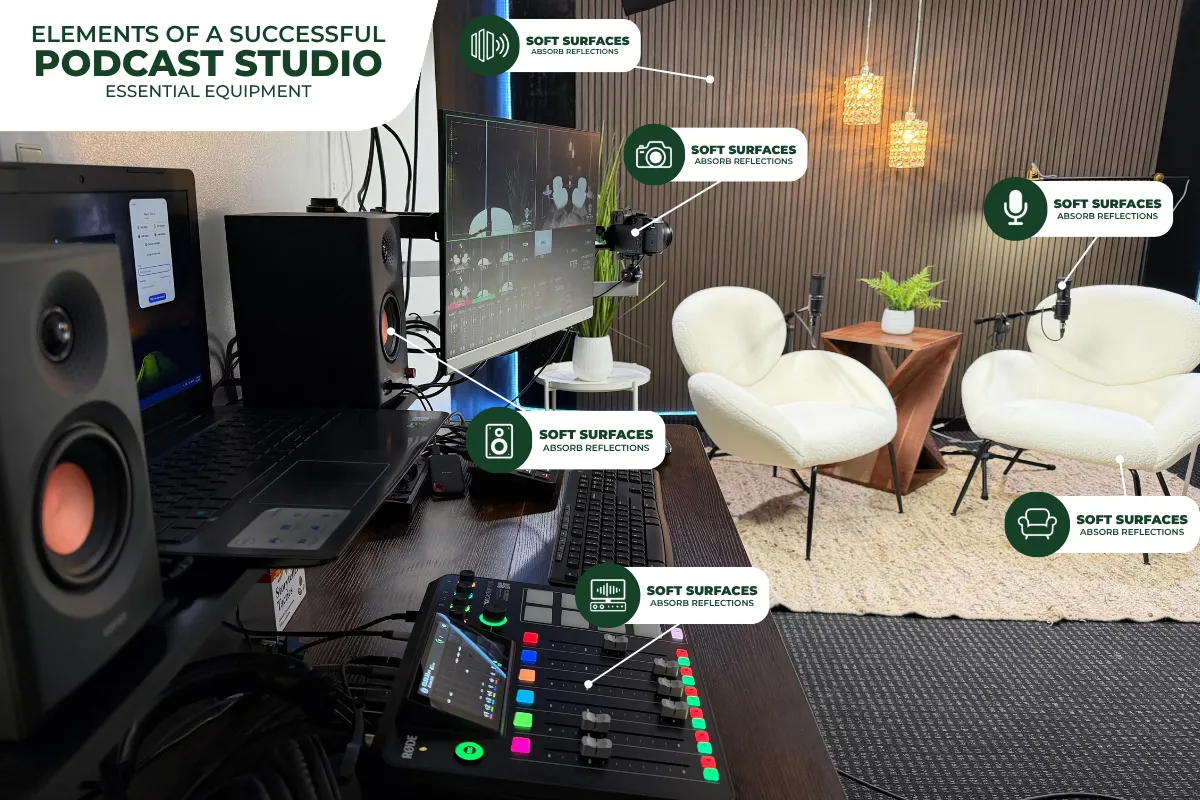
Core Tools for a Successful Podcast Room Setup
You do not need to turn your room into an anechoic chamber. In fact, removing every bounce can make a space feel dead and unnatural. Instead, focus on balancing the sound using three primary tools in your podcast room setup:
1. Absorption Panels
Absorption panels soak up sound energy before it can bounce back into your microphone.
- Fiberglass or Rockwool Panels: These rigid panels absorb a wide range of frequencies and work well for human voices.
- Acoustic Foam: Lightweight foam cuts down on harsh, high-frequency reflections and flutter echo.
2. Bass Traps
Low-frequency sounds gather in the corners of your room, making your voice boom or rumble.
- Install thick, triangular bass traps in room corners where walls meet.
- These traps absorb low-end buildup and keep your speech sounding natural rather than muddy.
3. Diffusers
Diffusers do not absorb sound; they scatter it in different directions.
- They prevent direct slapback echoes while keeping some life in the room.
- Place diffusers on the back wall behind your seating position for an open, airy acoustic balance.
Four Steps to Improve Your Recording Space on a Budget
You can make a noticeable improvement in your room without spending a fortune. Follow these basic steps to treat your recording zone:
- Find Reflection Points: Sit in your recording chair and have a friend slide a mirror along the side walls at ear level. Wherever you see your microphone in the mirror, mark that spot. That is a primary reflection point that needs an absorption panel.
- Cover Hard Floors: Hardwood, tile, or laminate floors reflect sound straight up into your desk and microphone. Lay down a thick rug with a dense pad underneath your setup to cut down on vertical bounces.
- Control the Back Wall: The wall directly behind you is a common source of slapback echo. Hang panels or place a tall, full bookshelf behind your seat to break up returning sound waves.
- Isolate Your Desk: Sound bounces off hard desk surfaces into the bottom of your microphone. Use a desk pad, keep your microphone off hard stands by using a boom arm, and angle the capsule away from flat tabletops.
Recording at Facet Media Podcast Studio
Setting up a home space takes time, testing, and adjustments. If you want broadcast-quality results without modifying your own room, Facet Media Podcast Studio offers professionally prepared spaces.
Recording in a dedicated studio gives you access to balanced acoustics, high-grade microphones, and a quiet space free from neighborhood distractions. Whether you record a solo show or host multiple guests, using a prepared environment lets you focus on your conversation rather than fighting room reflections.
Conclusion
Good sound begins with your recording space, not your editing software. While microphones capture audio, the surfaces in your room shape how that audio actually sounds. Adding simple absorption panels, taming corner bass, and killing flutter echoes will turn a harsh, hollow voice track into a warm, professional conversation. Take the time to set up your room correctly, and your audience will reward you with their attention.
Frequently Asked Questions
Can moving blankets work for acoustic treatment?
Yes, thick moving blankets can serve as a temporary budget solution. Hang them on walls or doors to reduce high-frequency slap echo. However, dense mineral wool panels perform better across all vocal frequencies.
Does foam fix room echo completely?
Acoustic foam handles high frequencies, but it rarely stops lower-frequency mud. For balanced vocal audio, pair standard foam with corner bass traps or thicker fabric-wrapped panels.
How much of my room should I cover with panels?
You do not need to cover every wall. For podcasting and spoken word, covering 25% to 40% of the wall space at ear level is usually enough to stop echo while keeping the room feeling natural.
Ready to record your show with crisp, balanced sound? Book your session at Facet Media Podcast Studio today and get broadcast-grade audio from your very first take.